Install YAFFA using Docker for Windows
This guide will help you install a basic working instance of YAFFA on your Windows machine using Docker.
Docker is a platform for developing, shipping, and running applications in containers. At this point, we assume that you have already installed Docker and Docker Compose on your computer. This guide uses Windows and Windows Subsystem for Linux (WSL) 2 to run Docker containers.
This Docker-based approach will take of installing the necessary server environment within containers. If needed, you can read about the environment requirements in the Technology stack guide.
One benefit of the Docker-based installation is that you do not need to install Node.js, npm, or run npm install and npm run build on your Windows host. The container setup takes care of the application runtime for you.
1. Start your Docker environment
Start Docker Desktop on your computer.
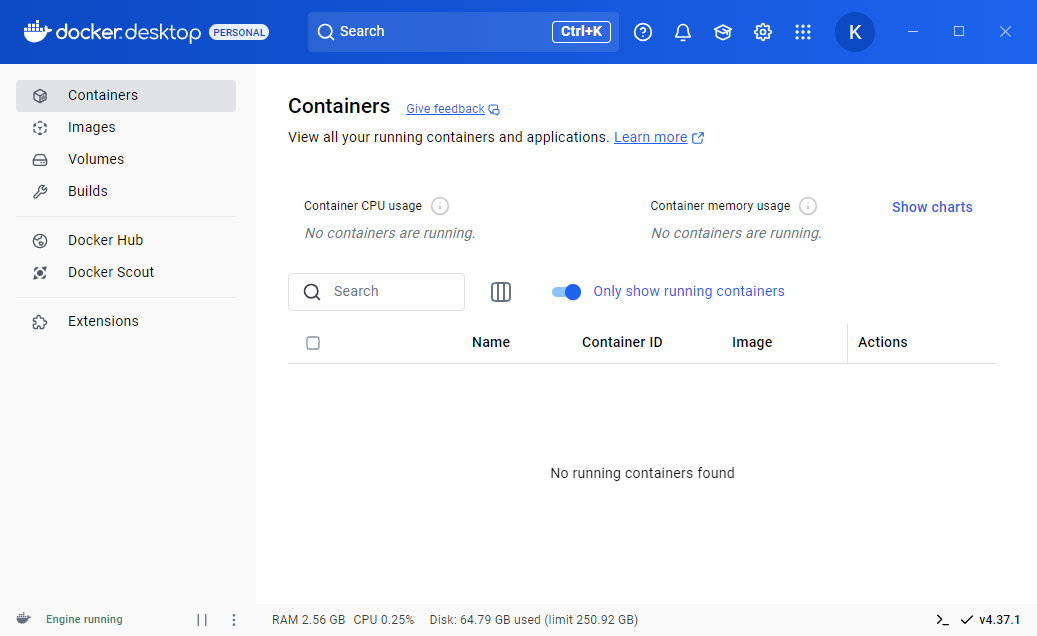
2. Create a new directory for YAFFA
Open a terminal of your choice to proceed with the installation. You can use the WSL Terminal, Command Prompt, or PowerShell. We will use the Ubuntu WSL in this guide.
You will download the necessary files to configure and run YAFFA in this directory.
- Create a new directory for YAFFA, for example
yaffa-docker, and enter it.
mkdir yaffa-docker
cd yaffa-docker
3. Download YAFFA
You'll need two files to run YAFFA with Docker: docker-compose.yml and .env.
A. You can download these files using your browser and save them in the yaffa-docker directory.
- Download docker-compose.yml
- Download the .env example file, and rename it to
.env.
B. Alternatively, you can use the terminal to download the files directly.
curl -o docker-compose.yml https://raw.githubusercontent.com/kantorge/yaffa/refs/heads/main/docker/docker-compose.yml
curl -o .env https://raw.githubusercontent.com/kantorge/yaffa/refs/heads/main/.env.example
4. Configure YAFFA
As any Laravel application, YAFFA needs to be configured to work with your environment. This includes setting up the database connection, application key, and other settings.
- To do this, open the
.envfile in your text editor, e.g.
nano .env
- Review and edit the database settings if you want to use a different database name, user, or password. Most importantly, you need to set the
DB_HOSTtodb, which is the name of the MySQL service in the Docker Compose file.
Once you are done with all changes, save the file and exit the editor.
Application key
You do not need to set APP_KEY. Leave it empty, and on the first start the container generates a key and keeps it in the yaffa_storage volume (storage/app/.app_key), so restarts and container re-creation keep using the same key. If you already have an APP_KEY in your .env, it is used as is.
Before 4.0, the application key had to be generated manually. When installing a 3.x release, fill in APP_KEY yourself, for example with the following command. It assumes that you are in the yaffa-docker directory, and you have OpenSSL installed.
grep -q '^APP_KEY=' .env && \
  sed -i 's|^APP_KEY=.*|APP_KEY=base64:'"$(openssl rand -base64 32)"'|' .env || \
  echo "APP_KEY=base64:$(openssl rand -base64 32)" >> .env
5. Start YAFFA
Start YAFFA using Docker Compose.
docker-compose up -d
This command will download the necessary Docker images, create the containers, and start the services. It will take a few minutes to complete, depending on your internet connection and computer performance. The -d flag will run the containers in the background, so you can continue using the terminal.
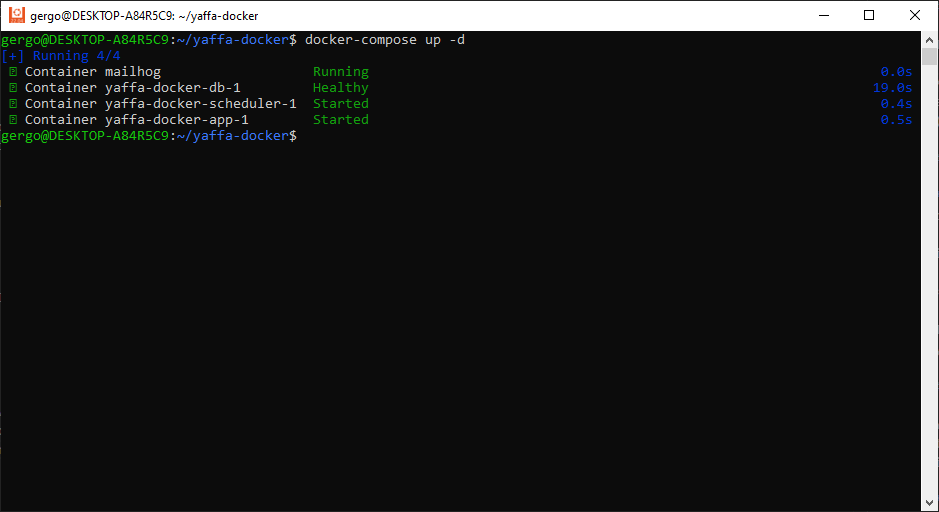
During the launch of the containers, Docker will also take care of migrating the database, and creating the necessary tables for YAFFA.
yaffa_storage named volumeYAFFA keeps its logs, cache, sessions, and (in the future) uploaded files under /var/www/html/storage inside the container. The provided docker-compose.yml mounts this path as a named volume (yaffa_storage), which Docker automatically populates from the image — including the required subdirectories and their permissions — on the first run.
Do not replace this named volume with a host bind mount (for example ./storage:/var/www/html/storage) unless you are prepared to manage it yourself. An empty host directory shadows the storage/framework/{sessions,cache,views} and storage/logs folders that ship inside the image, which leads to errors such as "There is no existing directory at /var/www/html/storage/logs" or "Failed to open stream: No such file or directory". If you must use a bind mount, create those subdirectories and set the correct ownership before starting the containers.
The yaffa_storage volume also holds the application key that YAFFA generates on first start (storage/app/.app_key, see the application key note in the configuration step). That key protects sessions and encrypted data, such as two-factor authentication secrets. Include this volume in your backups, and never delete it without keeping a copy of the key.
6. Access YAFFA
Once the containers are running, you can access YAFFA from your browser at http://localhost.
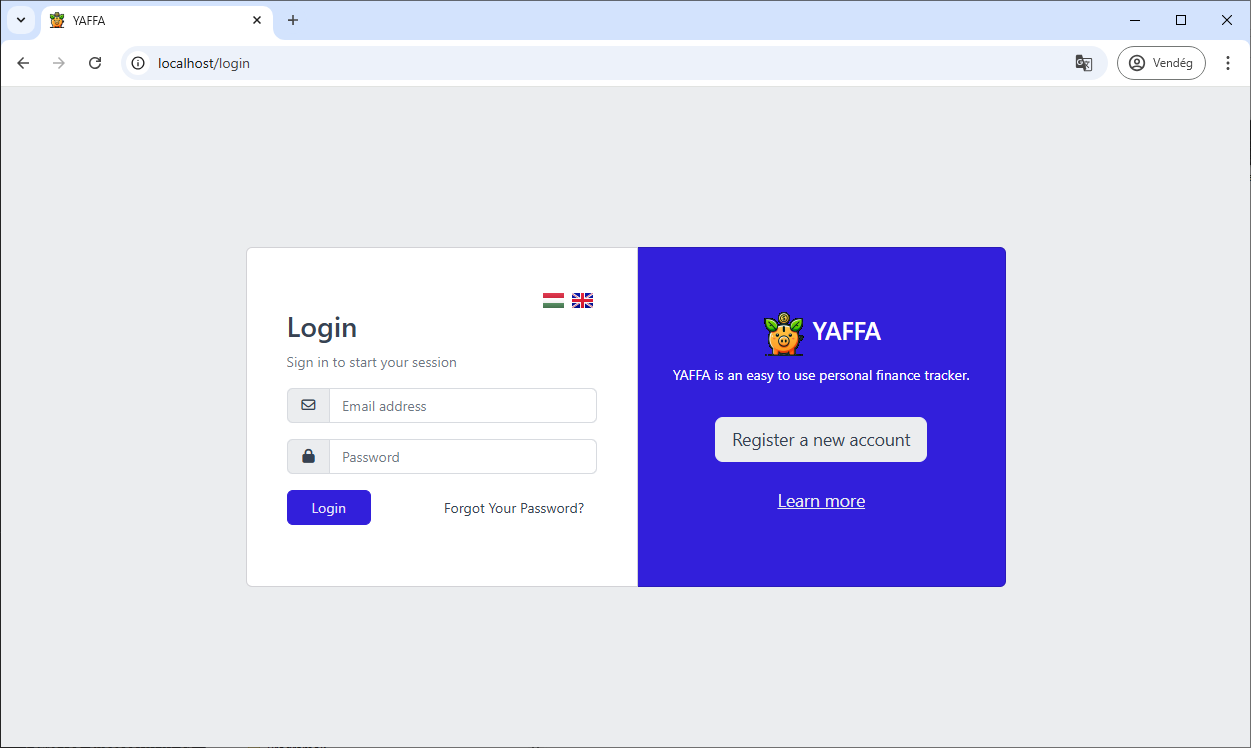
For instructions on the first steps to start using YAFFA, please visit the guide on the registration.
7. Stop YAFFA
When you are done using YAFFA, you can stop the containers.
docker-compose down
Note that this will stop the application, its scheduled cron jobs, and the database, but the data will be preserved.
You now have a working instance of YAFFA, which stores its data in a MySQL database. The MySQL files, logs, and any uploaded content are located in the yaffa_db and yaffa_storage Docker volumes, respectively.
- If you delete these volumes, you will lose all your data.
- To back up your YAFFA data, please refer to the Backup YAFFA Docker Volumes guide.
- To restore from a backup, please refer to the Restore YAFFA from Docker Volume Backups guide.
- If you want to keep your data private, you need to secure access to the Docker volumes.
For a production-ready YAFFA instance, regular backups are essential to protect your financial data.