Install the LEMP Stack on Raspberry Pi
This guide will help you set up a basic LEMP environment (Linux, Nginx, MySQL, PHP) on a Raspberry Pi running Raspberry Pi OS (based on Debian 12 "Bookworm" or newer). The environment will use PHP version 8.4 and MariaDB, a MySQL-compatible database, and the tools required to install YAFFA. Redis is not needed for this setup. It is intended for local use. This guide contains the minimum required steps to get the LEMP stack running on your Raspberry Pi. For troubleshooting and more advanced configurations, you can refer to the official documentation of the software components or search the internet for more detailed guides.
Complete the following steps by running the commands in the terminal on your Raspberry Pi.
1. Update and Upgrade the System
Before installing any packages, update and upgrade the system to ensure you have the latest software. This can take a minute or two, depending on your internet connection and the number of updates available. Use the following command to update and upgrade the system:
sudo apt update && sudo apt upgrade -y
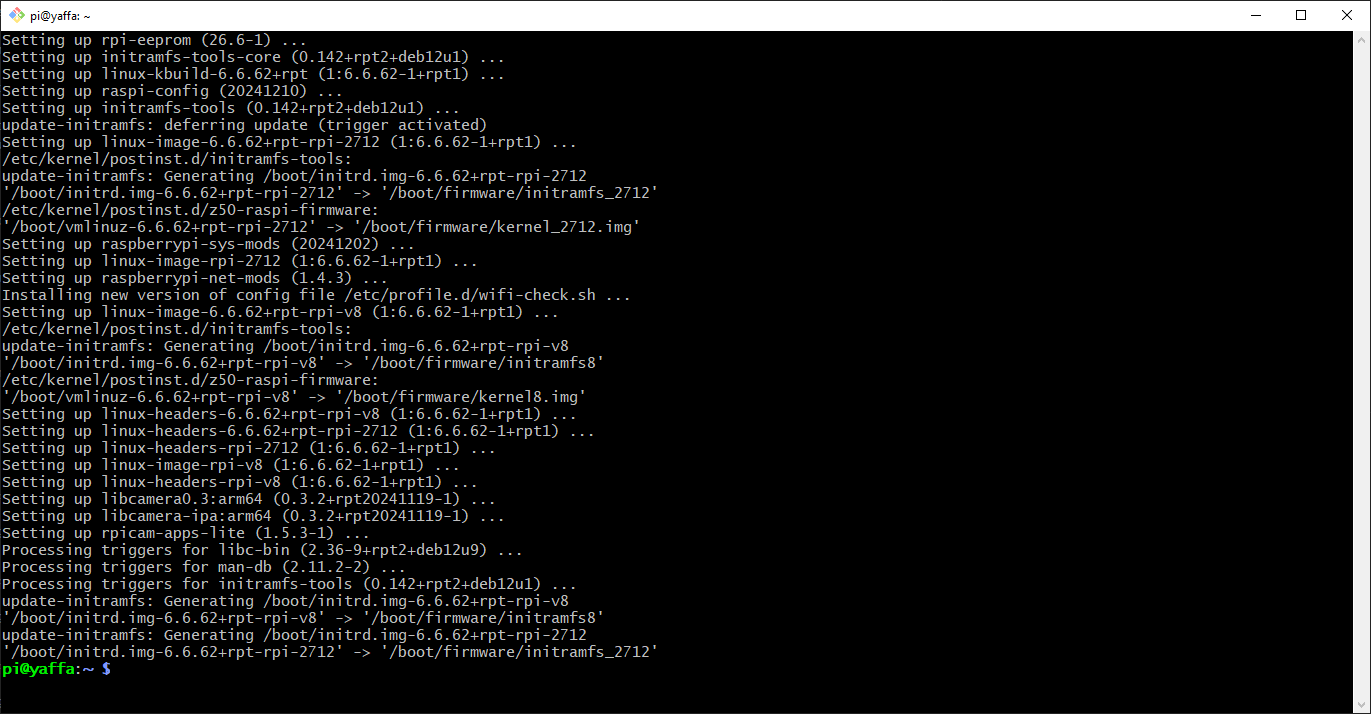
After these commands are completed, you should see an output similar to the following:
2. Install Nginx
Nginx will act as the web server for your YAFFA instance:
sudo apt install nginx -y
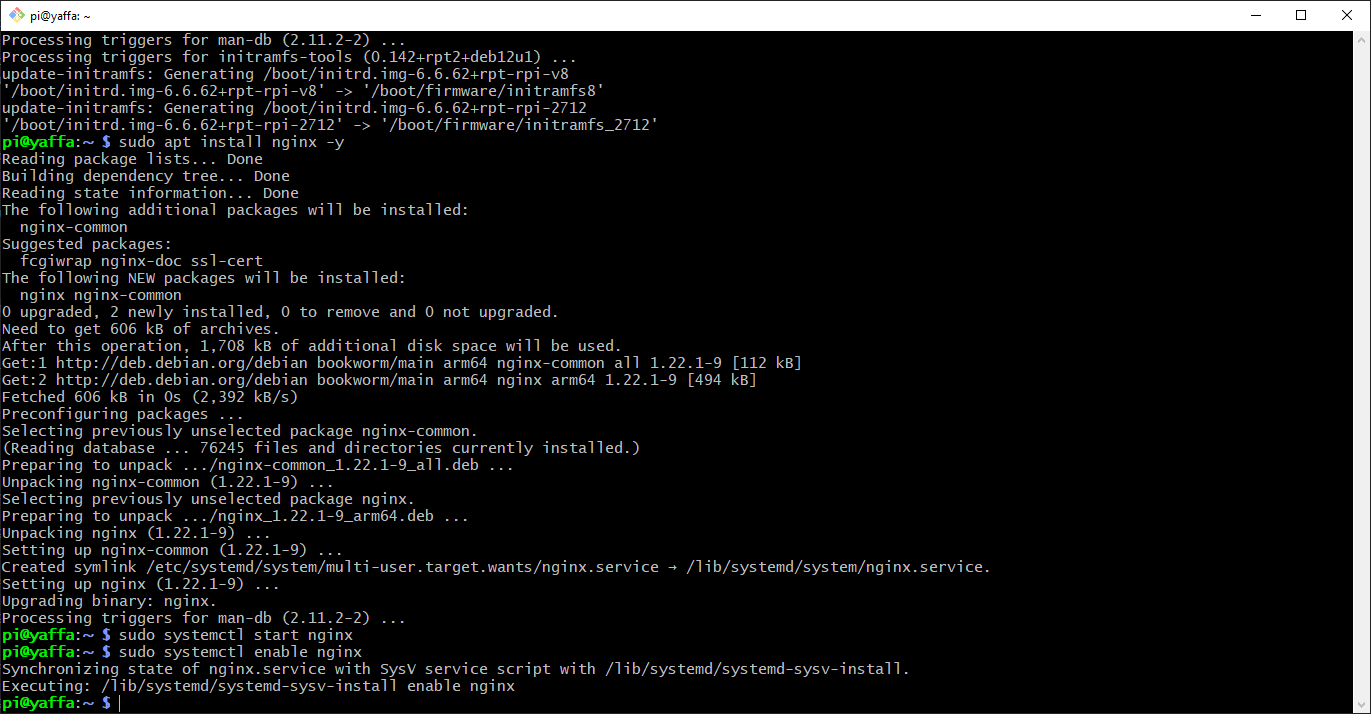
After the installation is complete, start the Nginx service and enable it to start on boot:
sudo systemctl start nginx
sudo systemctl enable nginx
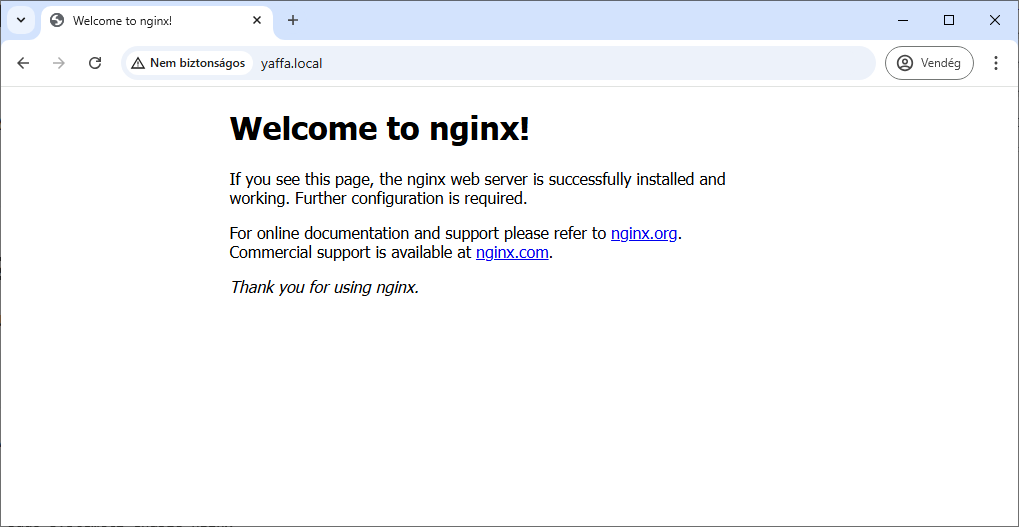
Verify that Nginx is working by visiting your Raspberry Pi's IP address in a web browser. You should see the default Nginx welcome page.
3. Install MariaDB (MySQL)
We need to install a database server to store the data for YAFFA. MySQL is a popular choice for this purpose, but for Raspberry Pi, we need to install MariaDB, a community-developed fork of MySQL. YAFFA works with it, even though it is not as thoroughly tested as with MySQL.
sudo apt install mariadb-server -y
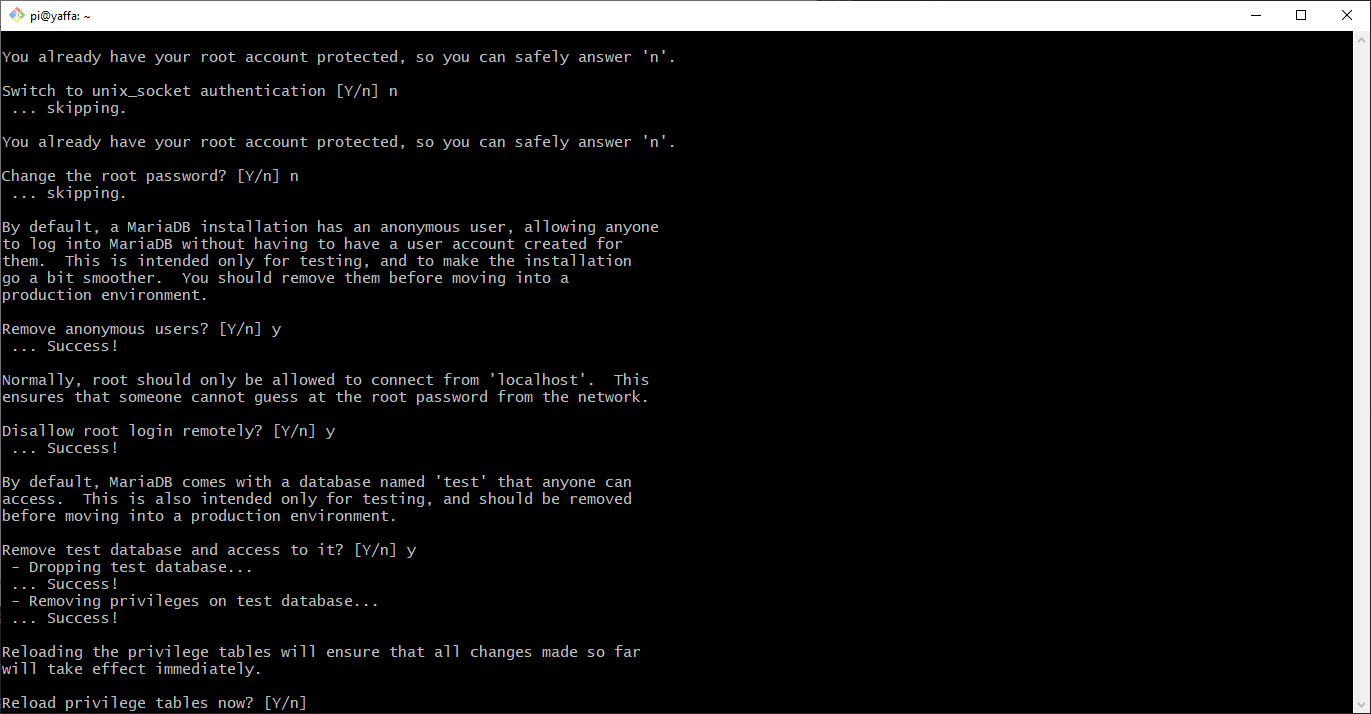
After the installation is complete, run the MySQL secure installation script to set up the root password and other security options. Take note of the root password you set during this process.
sudo mysql_secure_installation
Log in to MySQL to ensure it's working:
sudo mysql -u root -p
You should see the MySQL prompt.
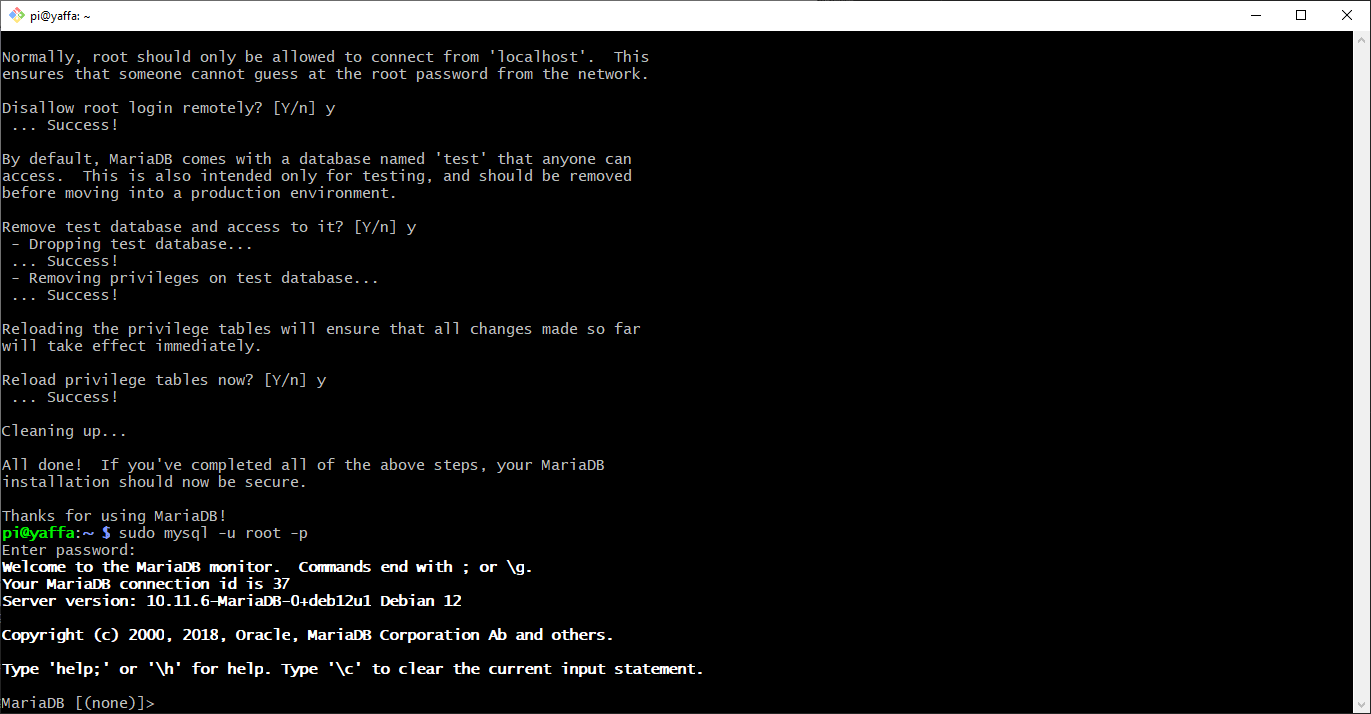
Now exit the MySQL prompt:
exit
4. Install PHP 8.4 and Required Extensions
Install PHP and necessary extensions for Laravel-based applications like YAFFA. We will install PHP version 8.4 and the required extensions.
PHP 8.4 is not available in the default package sources of Raspberry Pi OS, so first, we need to make some preparations by adding the PHP repository maintained by Ondřej Surý. Install the tools needed for this, then add the signing key of the repository:
sudo apt install lsb-release ca-certificates curl -y
sudo curl -sSLo /tmp/debsuryorg-archive-keyring.deb https://packages.sury.org/debsuryorg-archive-keyring.deb
sudo dpkg -i /tmp/debsuryorg-archive-keyring.deb
Add the PHP repository:
echo "deb [signed-by=/usr/share/keyrings/debsuryorg-archive-keyring.gpg] https://packages.sury.org/php/ $(lsb_release -sc) main" | sudo tee /etc/apt/sources.list.d/php.list
At this point, we need to update the package list again:
sudo apt update
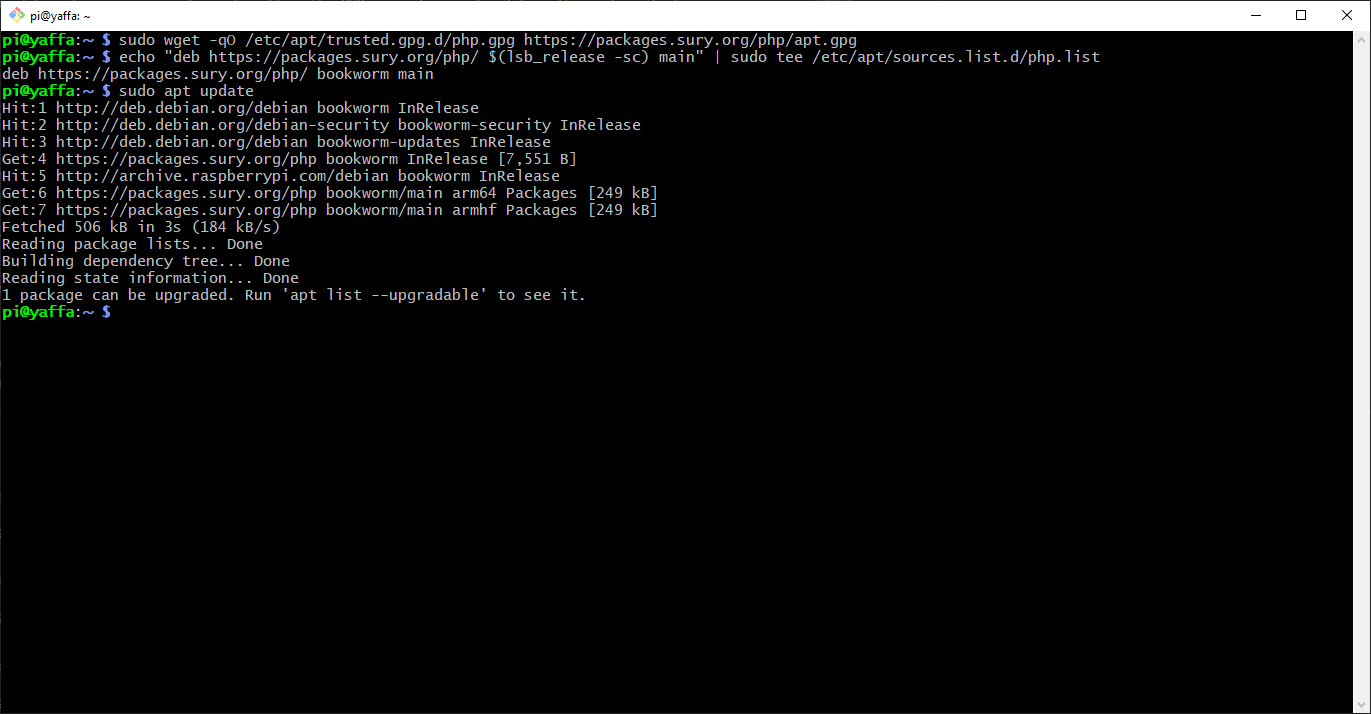
Now we can install PHP 8.4 and the required extensions:
sudo apt install php8.4 php8.4-fpm php8.4-mysql php8.4-ctype php8.4-curl php8.4-dom php8.4-fileinfo php8.4-bcmath php8.4-mbstring php8.4-pdo php8.4-tokenizer php8.4-xml php8.4-gd -y
Besides the extensions required by Laravel, this installs the GD extension, which YAFFA uses for resizing images, for example when processing documents with AI. The BCMath extension is required by YAFFA for exact calculations with money. Some of the listed extensions are already part of the PHP core package, so it is normal if the installer does not list them separately.
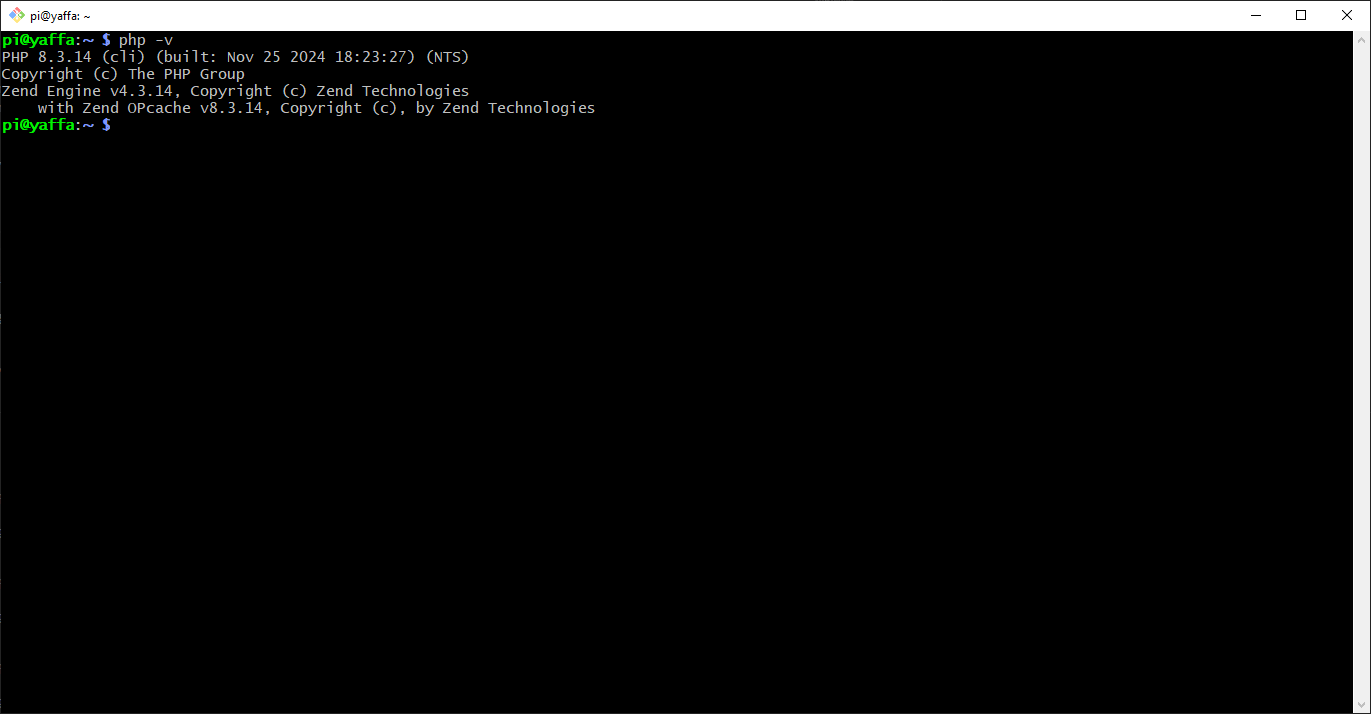
You can verify the PHP installation by checking the version:
php -v
5. Configure Nginx
Edit the Nginx configuration file to serve YAFFA:
sudo nano /etc/nginx/sites-available/yaffa
Add the following configuration to the file. Adjust the server_name and root directives to match your setup, if needed. In this given example, we are using yaffa.local as the server name (for example, if you set the hostname of your Raspberry Pi to yaffa using raspi-config) and /var/www/yaffa as the root directory.
server {
    listen 80;
    server_name yaffa.local;

    root /var/www/yaffa;
    index index.php index.html;

    location / {
        try_files $uri $uri/ /index.php?$query_string;
    }

    location ~ \.php$ {
        include snippets/fastcgi-php.conf;
        fastcgi_pass unix:/var/run/php/php8.4-fpm.sock;
        fastcgi_param SCRIPT_FILENAME $document_root$fastcgi_script_name;
        include fastcgi_params;
    }
}
Enable the configuration. Also remove the default Nginx site, otherwise it keeps answering the requests that use the IP address of your Raspberry Pi, instead of the site you just created. Then check the configuration, and reload Nginx:
sudo ln -s /etc/nginx/sites-available/yaffa /etc/nginx/sites-enabled/
sudo rm /etc/nginx/sites-enabled/default
sudo nginx -t
sudo systemctl reload nginx
6. Test your LEMP Stack
Create a directory for YAFFA and set the correct permissions:
sudo mkdir /var/www/yaffa
sudo chown -R www-data:www-data /var/www/yaffa
sudo chmod -R 775 /var/www/yaffa
At this point it is also worth adding your user to the www-data group to avoid permission issues when working with the files in the /var/www/yaffa directory. E.g.
sudo usermod -a -G www-data $USER
You need to log out and log back in for this change to take effect.
Let's test if everything is working correctly. Create a PHP info file in the web root directory:
echo "<?php phpinfo();" | sudo tee /var/www/yaffa/info.php
Visit http://<your-ip-address>/info.php in your web browser. You should see the PHP information page.
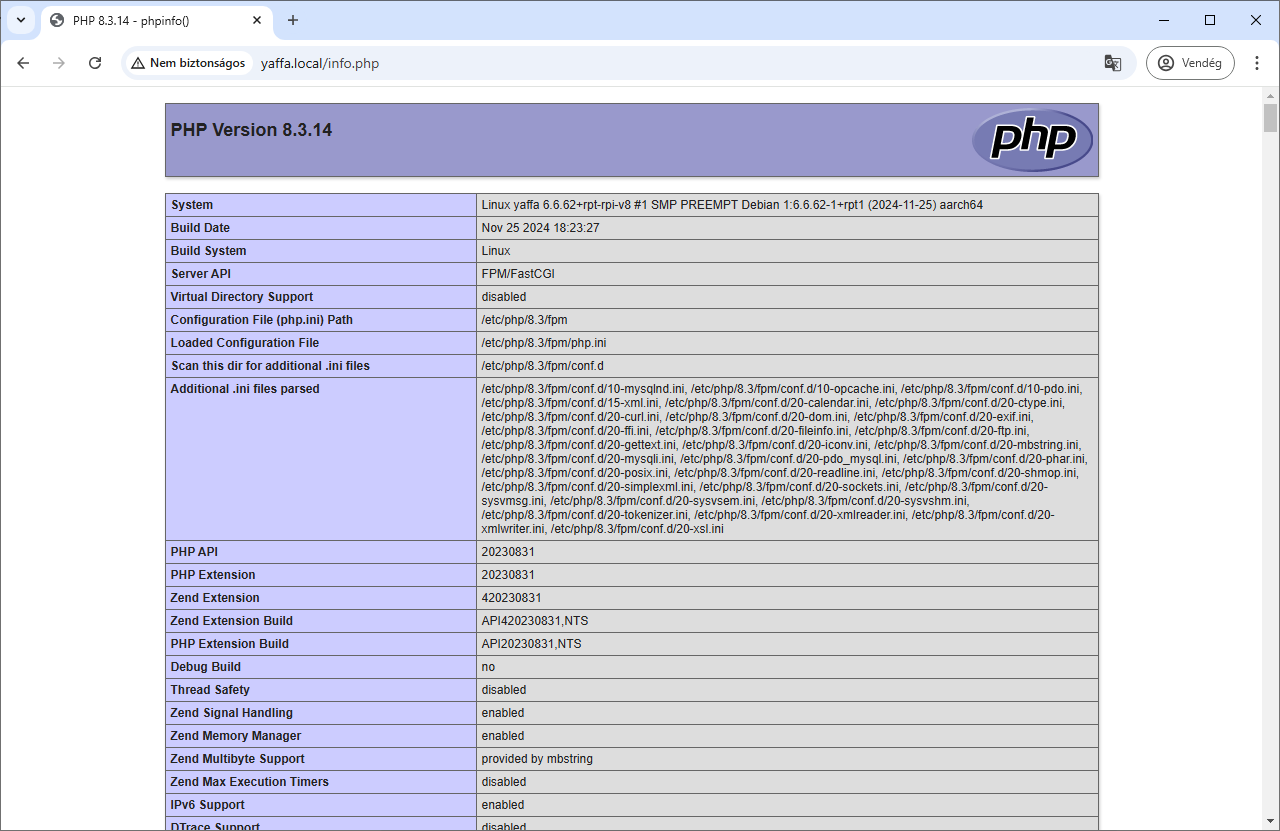
Once you have seen the page, remove the test file. It reveals details of your server, and the installation of YAFFA needs an empty folder.
sudo rm /var/www/yaffa/info.php
7. A few additional steps
Your device is now set up with a basic LEMP stack. Before proceeding with the installation of YAFFA, you need to take a few additional steps, to have some tools that will be needed during the installation process.
Install Composer
Composer is a dependency manager for PHP. Install it, together with unzip, which Composer uses to unpack the packages it downloads:
sudo apt install composer unzip -y
Install Git
Git is a version control system that is used to download the YAFFA source code. Install it by running the following command:
sudo apt install git -y
Install Node.js and npm
Node.js and npm are needed to build the frontend assets of YAFFA. The build requires Node.js version 20.19 or later (or 22.12 or later). The version available in the default package sources of Raspberry Pi OS can be older than that, so we install a current version from NodeSource:
curl -fsSL https://deb.nodesource.com/setup_22.x | sudo -E bash -
sudo apt install nodejs -y
Verify the installed version:
node -v
If NodeSource does not provide packages for your Raspberry Pi model, install a suitable version of Node.js in another way, for example using nvm.
Conclusion
Congratulations! Now you can proceed with the installation of YAFFA by following the installation guide.
As a reminder, this guide is intended to set up your environment for local use. If you plan to host YAFFA on a public server, additional security measures should be taken.