Install and Configure YAFFA on Raspberry Pi
This guide will help you install a basic working instance of YAFFA on your Raspberry Pi. It will guide you through the installation of YAFFA web application itself. This guide assumes that you have already set up your Raspberry Pi with a LEMP stack, and the tools required to build and configure YAFFA (git, Composer, Node.js and npm). If you haven't done so yet, you can follow our brief guide on how to set up a LEMP stack on a Raspberry Pi here.
If you are comfortable working with Docker, then the majority of the steps in this guide will be taken care of by the Docker-based installation. For step by step instructions on how to install YAFFA using Docker, see the Install YAFFA using Docker for Windows guide.
For a brief guide on how to set up a LEMP stack on a Raspberry Pi, see this guide. For more detailed instructions or help with troubleshooting, you can refer to the official documentation of the software components or search the internet for more detailed guides.
1. Download YAFFA
As a first step, you need to download the files of YAFFA. For this, we will use Composer, a dependency manager for PHP.
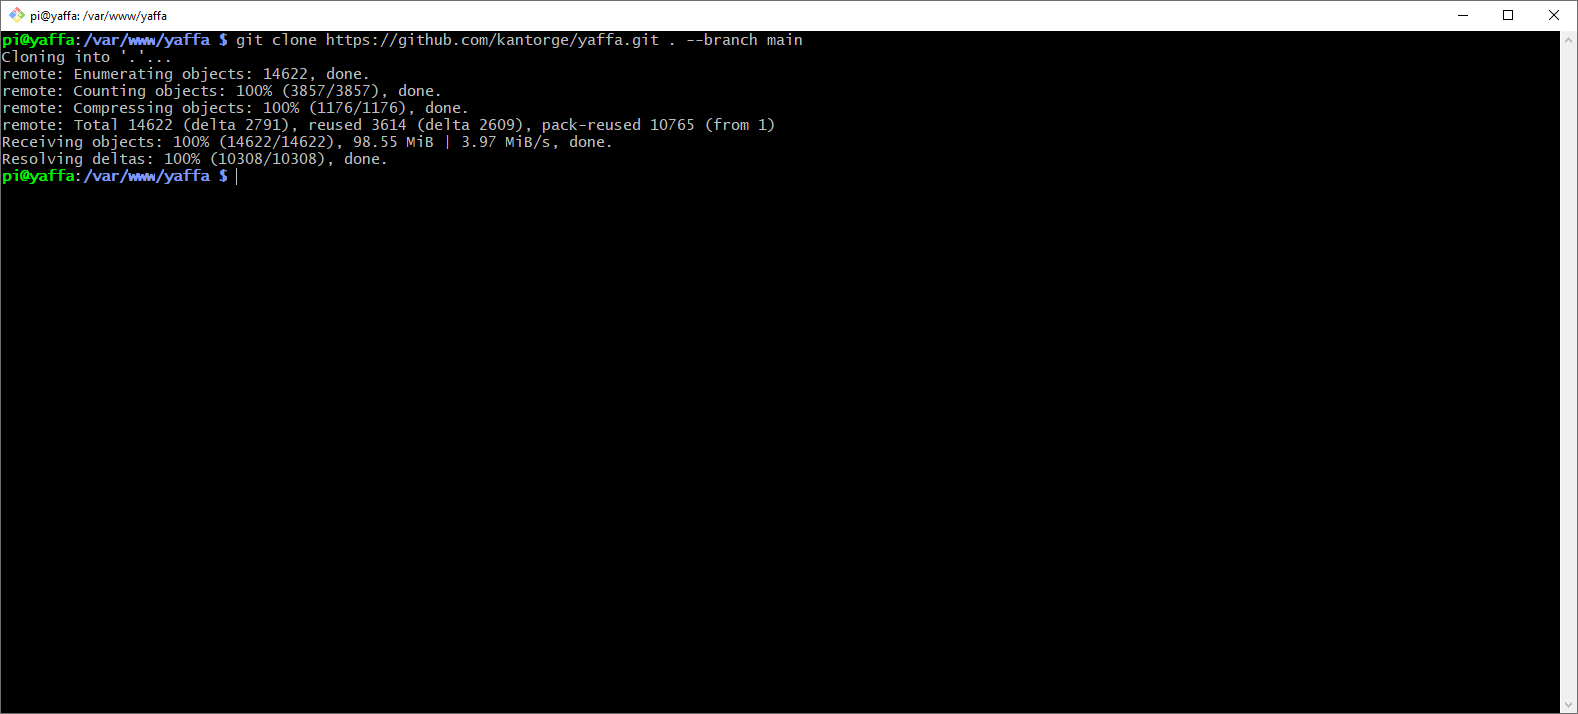
First, navigate to the directory where you want to install YAFFA. If you followed our guide, then you can head to the folder we created at /var/www/yaffa:
cd /var/www/yaffa
Make sure that the folder is empty, and then download YAFFA using Composer:
git clone https://github.com/kantorge/yaffa.git . --branch main
2. Prepare your database
YAFFA stores its data in a MySQL database. This includes various assets like accounts, payees, categories, and also the transactions you record. You need to create a new database and a user with the necessary permissions to access it.
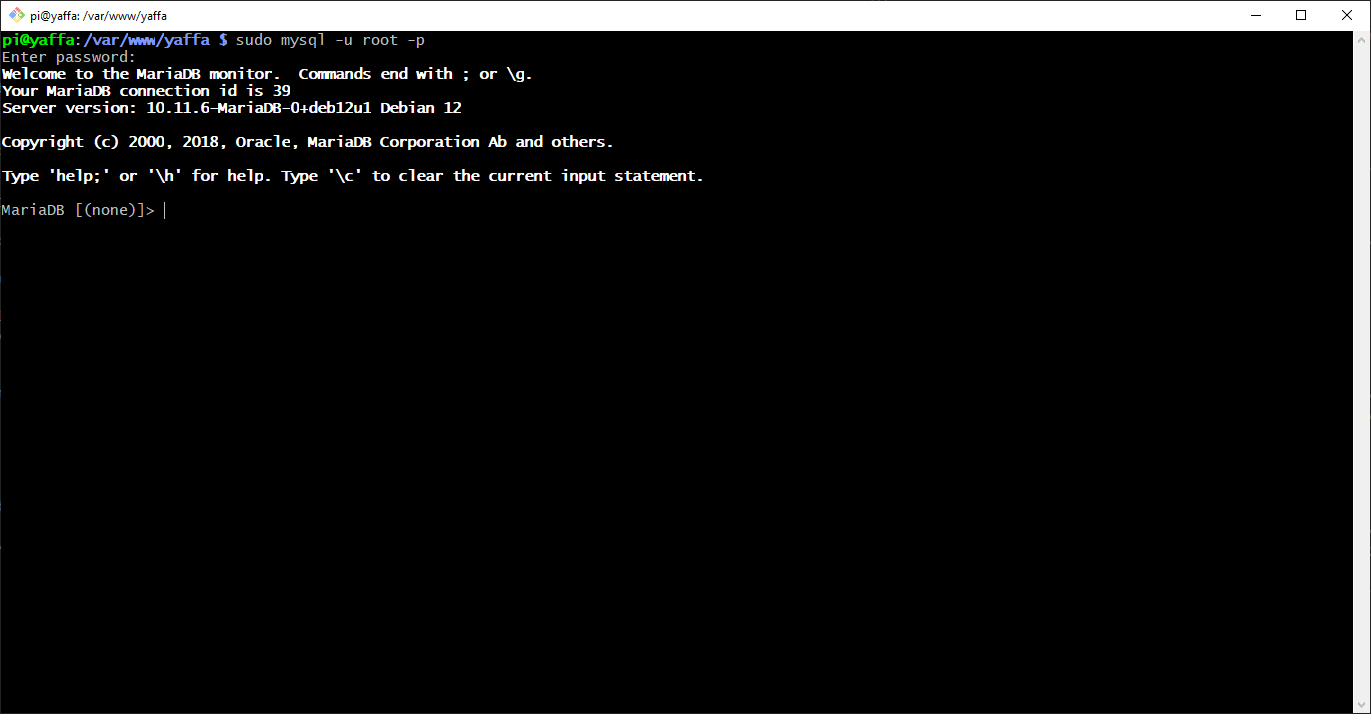
- Open your MySQL client, and log in as the root user. You can use the following command:
sudo mysql -u root -p
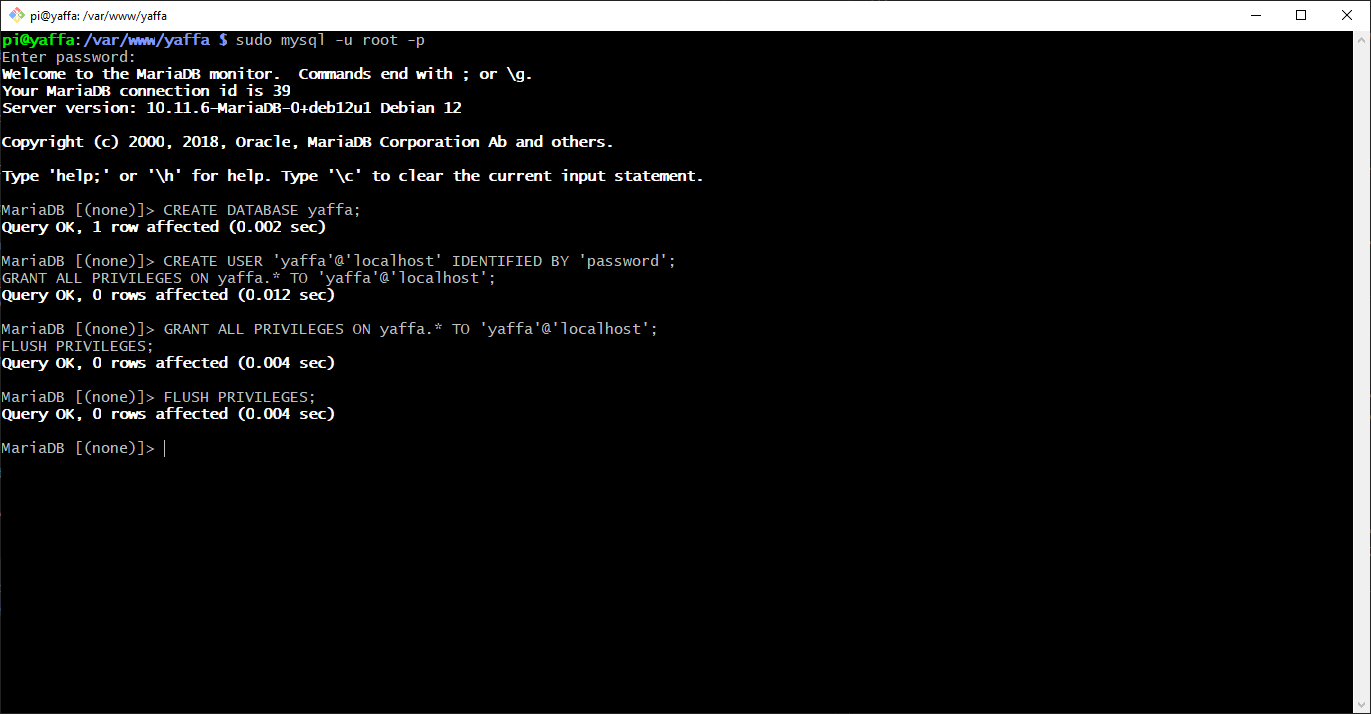
Let's create a user and a database for YAFFA. You can replace yaffa with your desired username, password with your desired password, and yaffa with your desired database name. In this case, make the necessary changes in the code snippets below:
CREATE DATABASE yaffa;
CREATE USER 'yaffa'@'localhost' IDENTIFIED BY 'password';
GRANT ALL PRIVILEGES ON yaffa.* TO 'yaffa'@'localhost';
FLUSH PRIVILEGES;
You can now exit the MySQL client:
exit
3. Install packages
Before you can start using YAFFA, you need to install the necessary packages. This includes Composer, which is a dependency manager for PHP, and Node.js with npm, which are required to build YAFFA's frontend assets. At this point we assume that you have Composer installed and that Node.js and npm are available on the Raspberry Pi.
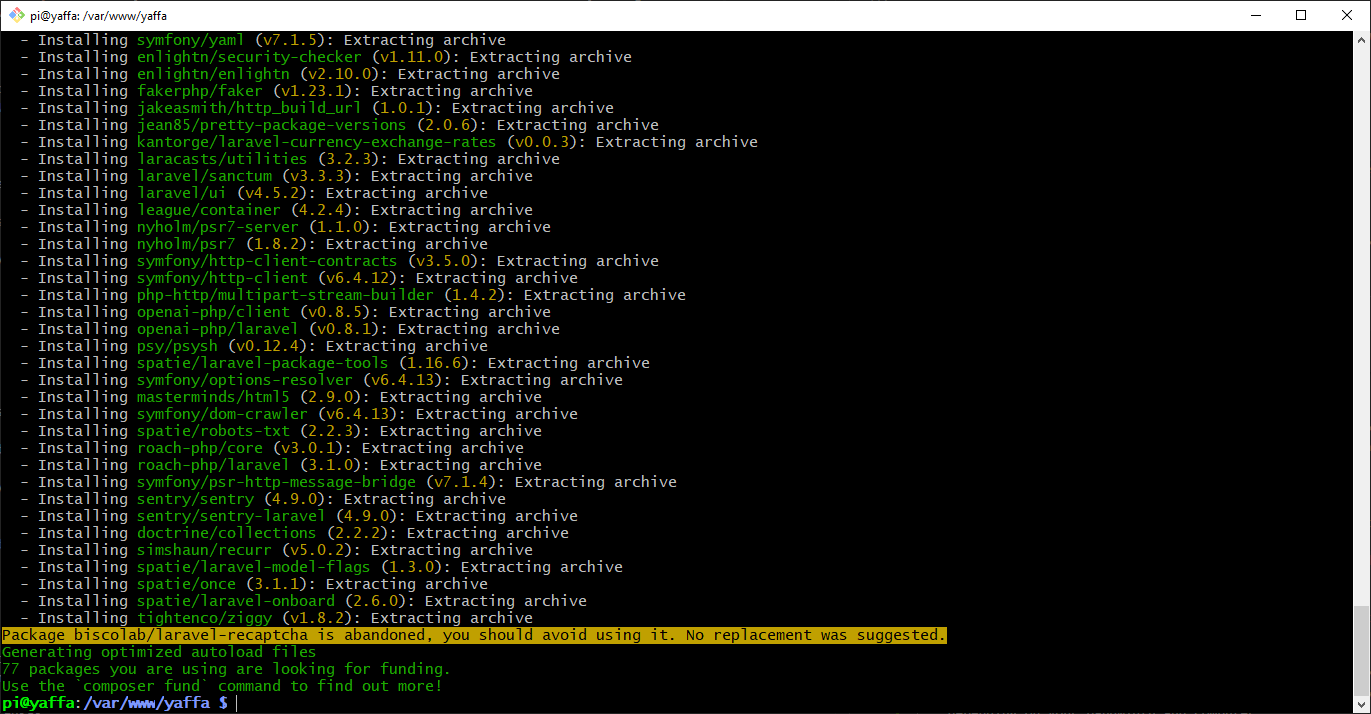
- Install the necessary PHP packages:
composer install --no-dev --no-scripts
- Install the frontend dependencies:
npm install
- Build the production frontend assets with Vite:
npm run build
The end result should look like this:
4. Configure YAFFA
As any Laravel application, YAFFA needs to be configured to work with your environment. This includes setting up the database connection, application key, and other settings. This guide covers the base configuration, but you can find more advanced settings in the .env file. Some of these are also covered in the Advanced settings guide.
- The settings of YAFFA will be stored in a
.envfile. While still in your YAFFA folder and your terminal, make a copy of the sample.envfile:
cp .env.example .env
- One important setting is the application key. It can be edited in the newly created
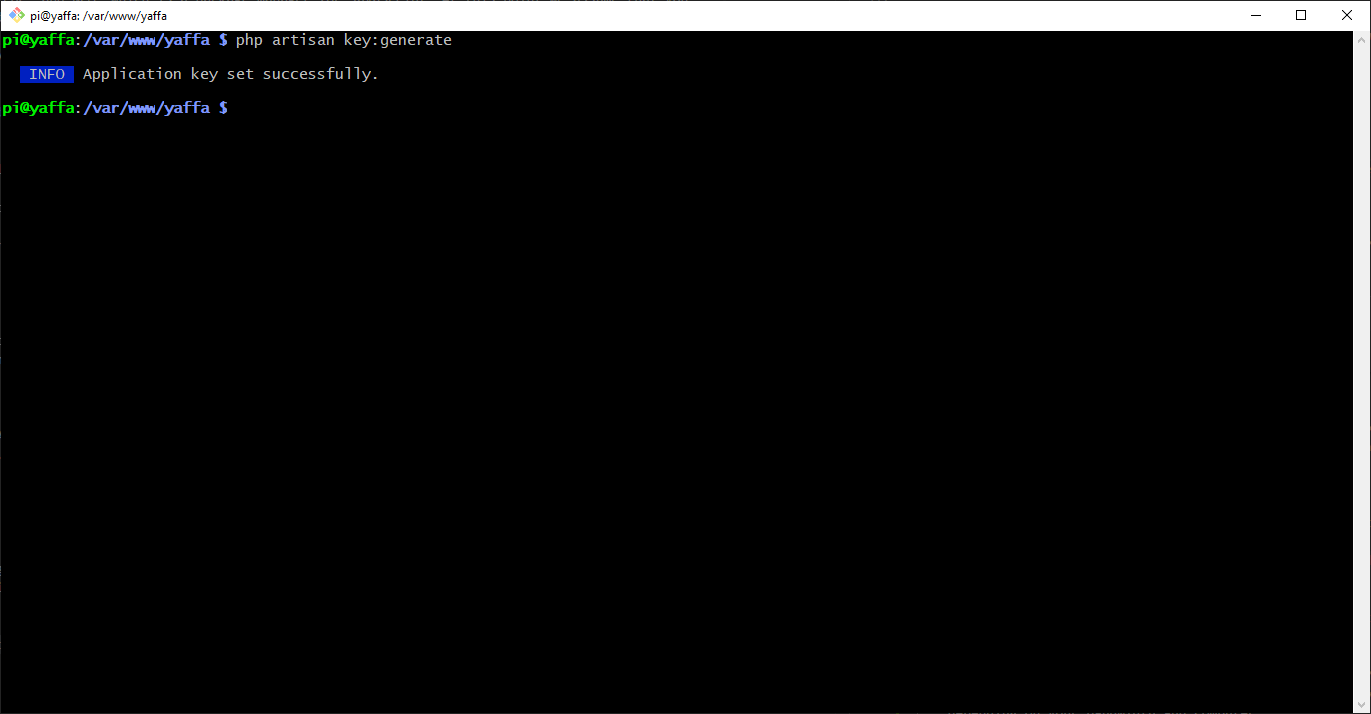
.envfile directly, or it can be created by running the following command:
php artisan key:generate
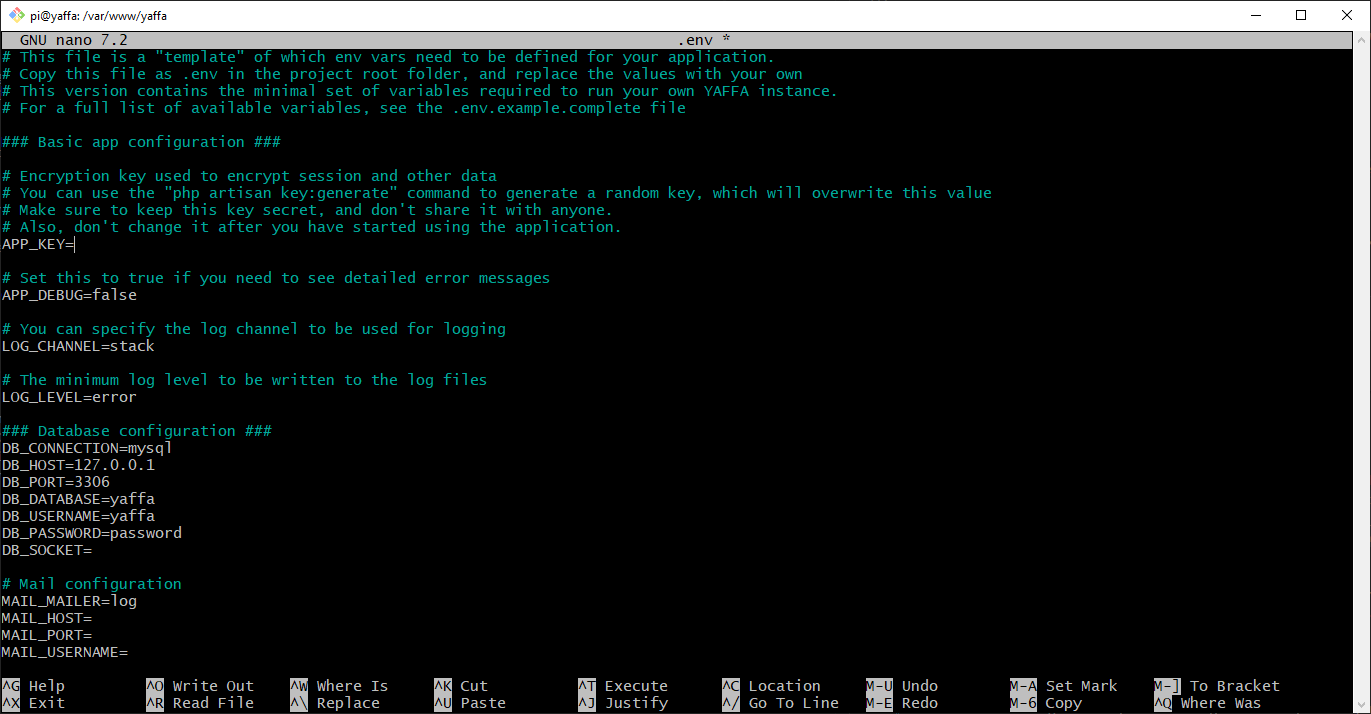
At this point, you can open the .env file in your favorite text editor and adjust the settings to match your environment.
nano .env
- Set the database connection parameters according to the values you have used to create the MySQL user and database. Use the
DB_DATABASE,DB_USERNAMEandDB_PASSWORDsettings accordingly. - Review the APP_URL, if you would like to use something else than the IP address of the Raspberry Pi to access YAFFA from your browser.
5. Build the database
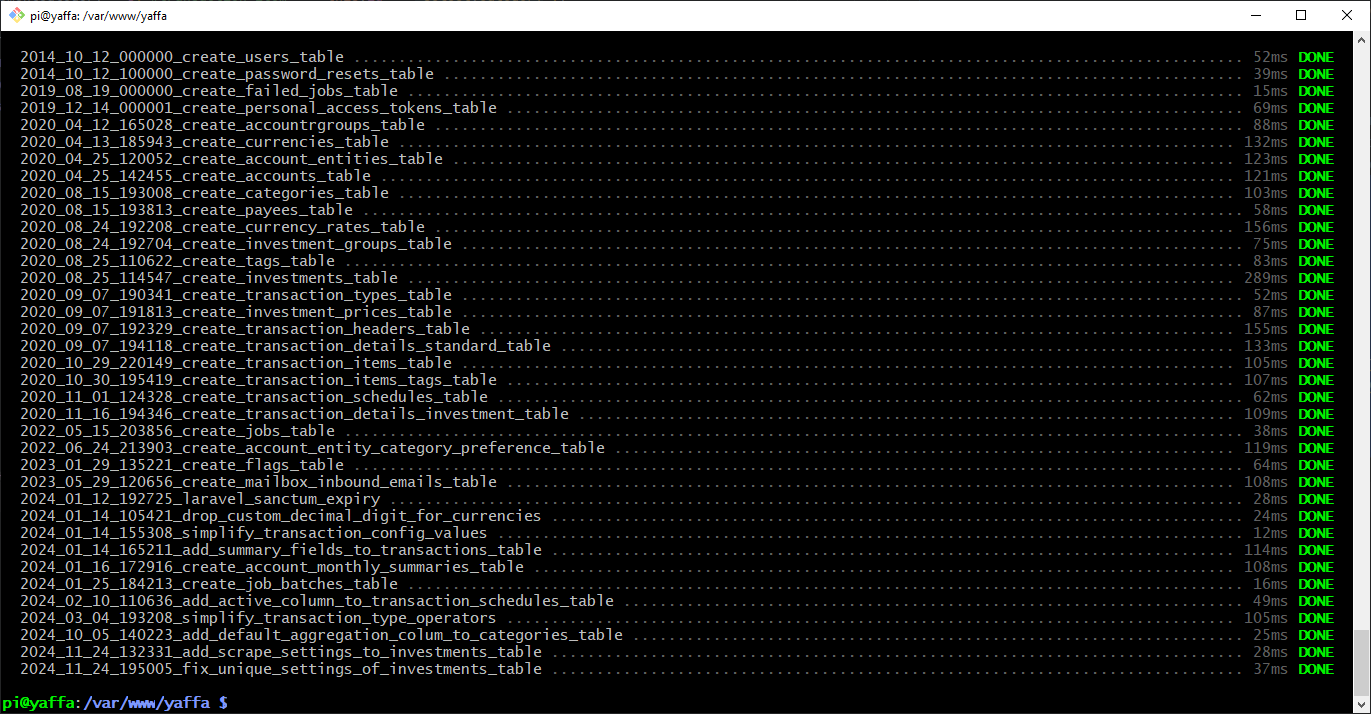
In an earlier step you created a database and a user for YAFFA. Now it's time to create the tables and relationships that YAFFA needs to function. Fortunately, Laravel provides a convenient way to do this. In the command prompt, from the directory where YAFFA is installed, run the following command to create all the database tables, that are used by YAFFA.
php artisan migrate
Your output should look similar to this:
6. Set up the storage
YAFFA uses the storage directory to store various files, like logs, cache, and uploaded files. You need to set the correct permissions for this directory.
sudo chown -R www-data:www-data storage bootstrap/cache
sudo chmod -R 775 storage bootstrap/cache
7. Set up the web server
YAFFA is a web application, so you need to configure your web server to serve the application. In this guide, we will use Nginx as the web server. You might have this configuration in place if you followed our guide on how to set up a LEMP stack on a Raspberry Pi. You still need to make some adjustments to the configuration to serve YAFFA.
- Create a new server block for YAFFA:
sudo nano /etc/nginx/sites-available/yaffa
Paste the following configuration into the file. Make sure to adjust the server_name and root directives to match your environment.
server {
    listen 80;
    server_name yaffa.local;

    root /var/www/yaffa/public;
    index index.php index.html;

    location / {
        try_files $uri $uri/ /index.php?$query_string;
    }

    location ~ \.php$ {
        include snippets/fastcgi-php.conf;
        fastcgi_pass unix:/var/run/php/php8.3-fpm.sock;
        fastcgi_param SCRIPT_FILENAME $document_root$fastcgi_script_name;
        include fastcgi_params;
    }
}
Enable the configuration if you haven't done so already, and reload Nginx:
sudo ln -s /etc/nginx/sites-available/yaffa /etc/nginx/sites-enabled/
sudo systemctl reload nginx
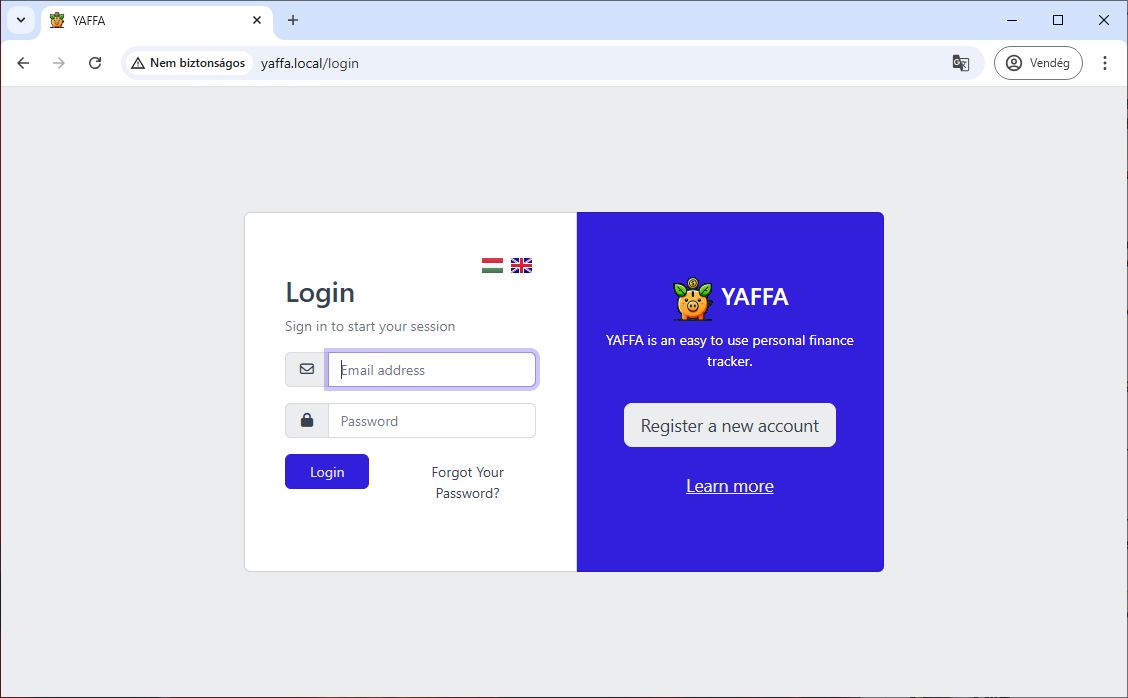
8. Test your YAFFA installation
Congratulations! You have successfully installed YAFFA on your Raspberry Pi. Open your browser and navigate to the IP address of your Raspberry Pi, or the domain you have set up in the Nginx configuration. You should see the YAFFA login screen.
Enjoy managing your finances with ease! If you encounter any issues, refer to our documentation or reach out to us for assistance.
For instructions on the first steps to start using YAFFA, please visit the guide on the registration.
Once you have YAFFA up and running, there are some additional configurations you should complete to enable all the features of the application.
9. Additional configuration
Configure CRON jobs on Linux/Raspberry Pi
YAFFA uses Laravel's built-in task scheduler to execute certain background tasks on a regular basis. These tasks might include updating exchange rates, downloading investment prices, caching certain values, and automatically recording recurring transactions. To enable these features to work properly, you need to set up a cron entry that runs the Laravel scheduler every minute.
The standard Linux cron entry is:
* * * * * cd /path-to-your-project && php artisan schedule:run >> /dev/null 2>&1
On a Raspberry Pi, configure it using the following steps.
Step 1: Decide which user should run cron
Run the cron job as the same user that owns and runs your YAFFA files and PHP process (commonly www-data or your deployment user).
- If your app files are owned by
www-data, use that user for the cron entry - If your app is managed by a dedicated user, use that user consistently
Step 2: Open crontab
Open the crontab for the selected user:
crontab -e
If needed for www-data:
sudo crontab -u www-data -e
Step 3: Add the Laravel scheduler entry
Add this line and adjust paths as needed:
* * * * * cd /var/www/yaffa && /usr/bin/php artisan schedule:run >> /dev/null 2>&1
Notes:
- Replace
/var/www/yaffawith your YAFFA installation path - Use the absolute PHP binary path (
which phpcan help you find it)
Step 4: Save and verify cron
Save the crontab and verify the entry is present:
crontab -l
For www-data:
sudo crontab -u www-data -l
You should see the new cron entry listed.
Configure Queue Workers to run reliably in the background
Using the scheduler, YAFFA will dispatch operations as queued jobs. These jobs are not executed by cron itself. They must be processed by a running queue worker.
The worker command is:
php artisan queue:work
On Linux, the recommended reliable approach is running the worker as a systemd service so it starts on boot and restarts automatically on failure.
Step 1: Create a systemd service file
Create a service definition:
sudo nano /etc/systemd/system/yaffa-queue-worker.service
Add the following content and adjust paths / user values for your environment:
[Unit]
Description=YAFFA Laravel Queue Worker
After=network.target mariadb.service mysql.service

[Service]
User=www-data
Group=www-data
Restart=always
RestartSec=5
WorkingDirectory=/var/www/yaffa
ExecStart=/usr/bin/php artisan queue:work --sleep=3 --tries=3 --max-time=3600

[Install]
WantedBy=multi-user.target
Step 2: Reload systemd and enable the service
sudo systemctl daemon-reload
sudo systemctl enable yaffa-queue-worker
sudo systemctl start yaffa-queue-worker
Step 3: Check service status and logs
sudo systemctl status yaffa-queue-worker
sudo journalctl -u yaffa-queue-worker -f
This confirms that the worker is running and processing jobs.
Step 4: Restart workers after deployments or updates
Queue workers are long-lived processes. After updating application code, restart workers so they load fresh code:
php artisan queue:restart
systemd will automatically start new worker processes after restart signals are handled.
Important considerations
- Cron and queue are both required: Scheduler-driven queued jobs need both the cron scheduler and at least one running queue worker.
- Use absolute paths: In cron and systemd, always use absolute paths for both the project directory and the PHP executable.
- Permissions matter: The cron user and queue worker user must be able to read the project and write to
storageandbootstrap/cache.
If scheduled or queued jobs are not executing, verify the following:
- Cron entry exists for the correct user
yaffa-queue-workerservice is active- PHP binary path is correct in both cron and systemd
- File permissions allow writing to
storageandbootstrap/cache QUEUE_CONNECTIONis configured as expected in your.envfile
If you continue to encounter issues, refer to the Advanced settings guide or reach out to us for assistance.